Work continued on the walls today, and Mike laid-out the oven's side table. Most importantly, however, I got to see the oven's first fire. This is part of the curing process. There was a lot of wet concrete poured, and the fire will push the moisture out and dry it up.
The Community Brick Oven at Hamline Church is an outdoor, wood-fired brick oven. Although it will produce amazing pizzas and rustic bread, it is more than that. The oven will be a unique place in our community where we all can slow down, create, strengthen relationships, and build connections.
Showing posts with label cooking chamber. Show all posts
Friday, June 12, 2015
Tuesday, June 9, 2015
Building the Entrance and Chimney, Part Three
We made some nice progress on the oven over the past several days. The front of the oven has been built up, and now we are starting to bring the chimney in and up.
Here's a recap of our progress:
And of course there were happy worker bees:
Friday, May 22, 2015
Sealing the chamber with high temperature concrete
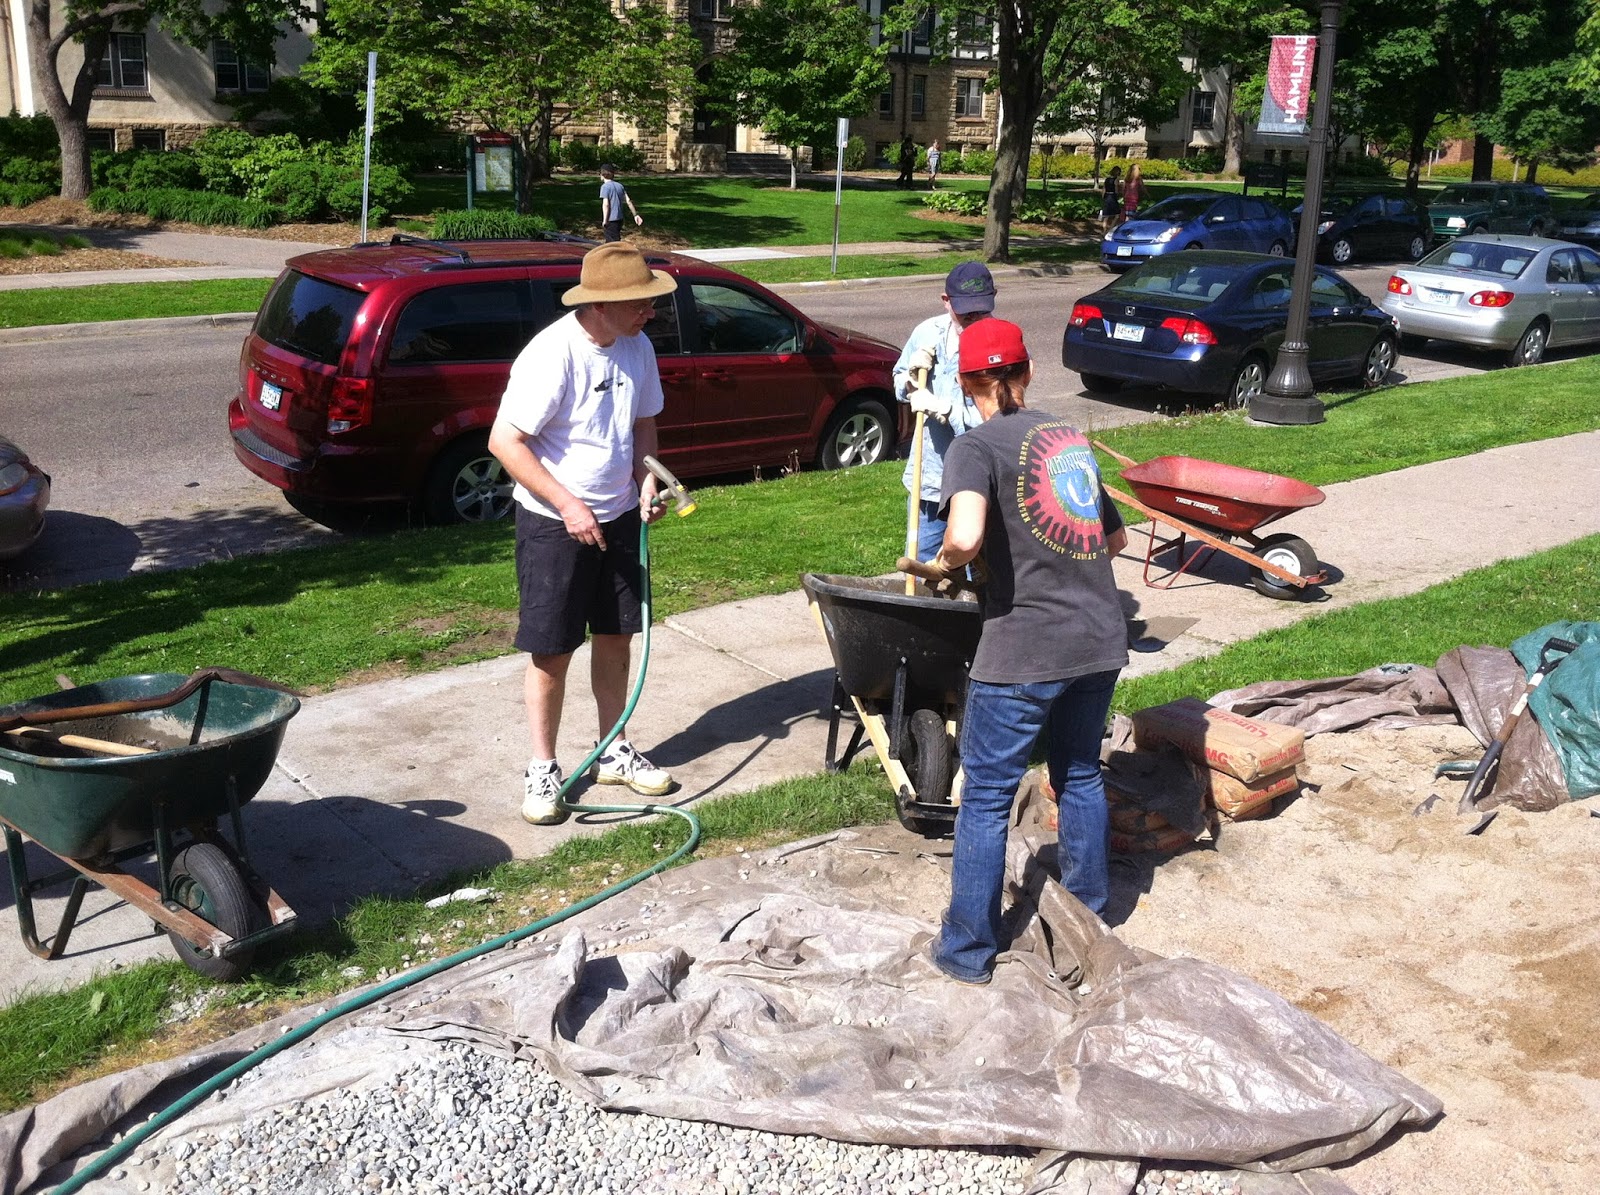
It was all hands on deck today as we tackled the last of the big muscle jobs. We needed to mix a bunch of concrete to pour over the top of our cooking chamber. This will help keep the chamber solid, and the high temperature concrete will also keep it insulated.
We had over a dozen people out this afternoon to help (not too shabby for the Friday of Memorial Day weekend).
We had expert supervision.
We had four wheelbarrows going back and forth.
Then we had a team filling a big bucket and pouring it over the top of the chamber.
After waiting a day to take the forms off, we finally had a look at the finished product...behold the cooking chamber. (NOTE: we still have to build our walls, chimney, roof, and the oven "entrance")
We had expert supervision.
We had four wheelbarrows going back and forth.
Then we had a team filling a big bucket and pouring it over the top of the chamber.
After waiting a day to take the forms off, we finally had a look at the finished product...behold the cooking chamber. (NOTE: we still have to build our walls, chimney, roof, and the oven "entrance")
Wednesday, May 20, 2015
Building the Cooking Chamber, Part 4
In order to get the right air flow, the cooking chamber needs a dip. So tonight we worked on a smaller arch that will lead to our chimney in the front of our oven.
First we had to soak the splits and prepare the entrance:
Once the entrance was built we had to cut the angled brick that will support our new, smaller arch.
Then we laid the arch:
First we had to soak the splits and prepare the entrance:
Once the entrance was built we had to cut the angled brick that will support our new, smaller arch.
Then we laid the arch:
Tuesday, May 19, 2015
Building the Cooking Chamber, Part 3
Well today was pretty cool, and I think demonstrated why the building of an oven is not something that can easily be done by a book or written instruction manual. It's a craft, and there are so many tiny steps and choices that it would take a long time to write down in any coherent structure. So, instead, we get the teaching method that has been used for thousands of years: "Here, let me show you how to do it."
There's so much power in that. We live in a world where we are constantly told what to do, but the people doing the telling rarely show you how it's done. It's the teacher living out the concepts that they are teaching, rather than just standing at the front of a classroom or on high.
With that, we had our fearless teacher, Mike, showing us how to do it....and we did it! After a wooden half circle form was built, the crew began laying the arches for our beautiful and quite big cooking chamber.
Here you can see that two arches have been built, and the form has been pulled forward for the third arch as we work toward the front of the cooking chamber. You have to get the arch just right, so there aren't wide gaps and it lines up with the arches behind it.
When each arch is done, then the inside needs to be cleaned with a wet sponge before the mortar dries.
Then you do it, again and again, until you are to the front of the cooking chamber.
And eventually the final scrub. This thing is solid. It is now apparent that if there is a tornado, I might be taking refuge in the brick oven.
Saturday, May 16, 2015
Building the Cooking Chamber, Part 2
The rain threatened, again, but we were lucky....again. A mist for a few minutes in the morning, and then it was clear.
Today our theme was concrete. We laid some rebar in our forms for extra support. Then hand-mixed via wheelbarrow about a dozen loads of concrete. While one group mixed, another group filled a bucket and poured it between the firebrick wall and the outside form.
The whole project took about two and half hours with five guys. Next step, on Monday, will be building the arch.
Here are the pictures of today's adventure.
First it was a rebar bending contest between pairs of hulky dudes.
Then we needed to put the rebar in its place to keep the high temperature concrete in place.
Then it was time to mix cement and pour it into the forms.
Mission complete
Today our theme was concrete. We laid some rebar in our forms for extra support. Then hand-mixed via wheelbarrow about a dozen loads of concrete. While one group mixed, another group filled a bucket and poured it between the firebrick wall and the outside form.
The whole project took about two and half hours with five guys. Next step, on Monday, will be building the arch.
Here are the pictures of today's adventure.
First it was a rebar bending contest between pairs of hulky dudes.
Then we needed to put the rebar in its place to keep the high temperature concrete in place.
Then it was time to mix cement and pour it into the forms.
Mission complete
Subscribe to:
Posts (Atom)